
")
")
")
/rating_off.png "1 Star")
Overview
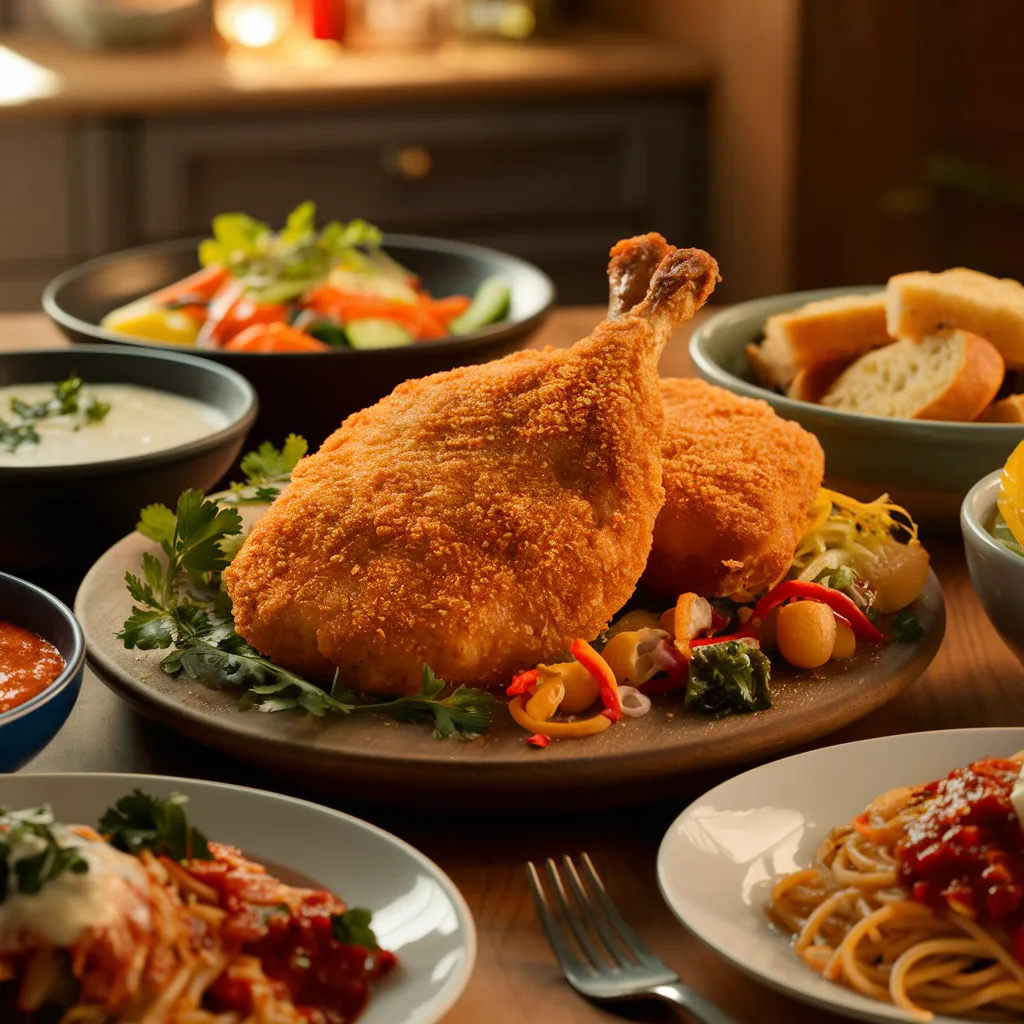
Hi there, enthusiasts of cuisine! I’m thrilled to share with you today my go-to, favorite recipe: chicken cutlets. Not only are these crispy, golden-brown treats wonderfully versatile, but they are also very simple to create. These recipes for chicken cutlets are perfect for a quick midweek supper or a spectacular weekend treat. Let’s get going and fill your table with some delectable treats!
Motives for Delighting in This Recipe
 – Crispy and Flavorful: The ideal fusion of juicy, succulent chicken with a crispy coating.
– Simple and Rapid: Easy steps and everyday items make this recipe a snap to prepare.
– Adaptable: Excellent as a main course, in sandwiches, or even as appetizers for a gathering.
– Kid-Friendly: A family favorite that is adored by both children and adults.
– Nutritious: Packed with protein and suitable for a balanced dinner with a variety of dishes.
INGREDIENTS
Regarding the Chicken Cutlets
| Four skinless and boneless chicken breasts | |
| One cup of flour for all purposes | |
| Two big eggs | |
| Two tablespoons of milk | |
| Two cups of breadcrumbs, ideally panko for maximum crunch | |
| Grated Parmesan cheese, half a cup | |
| One teaspoon of garlic powder | |
| One teaspoon of onion powder | |
| One teaspoon of paprika | |
| To taste, add salt and pepper. | |
| 1/4 cup of vegetable oil, intended for frying |
Nutrision Information
| 400 calories |
| 30g of protein |
| 35g of carbohydrates |
| 15g of fat |
| 2g of fiber |
Required Kitchen Equipment
| Chopping block | |
| Samurai knife | |
| Meat pounder (or roller) | |
| Three little bowls | |
| Big cooking pan or skillet | |
| Tongs | |
| Paper towels | |
| Baking sheet |
Visit our Store 
INSTRUCTIONS
| 1. | Get the chicken ready:
To get thinner cutlets, first cut each chicken breast in half lengthwise. If they are still rather thick, sandwich them between two plastic wrap sheets and roll or pound them with a meat mallet until they are approximately half an inch thick. |
| 2. | Establish Breading Stations:
Put the flour in the first shallow bowl and season it with a little salt and pepper. Whisk the eggs and milk in the second bowl. Mix the breadcrumbs, grated Parmesan, paprika, onion and garlic powders, and a little pinch of salt and pepper in the third bowl. |
| 3. | Shake off any excess flour after dredging each chicken cutlet in flour to make bread. After dipping them into the egg mixture and allowing any excess to fall off, completely coat them with the breadcrumb mixture and gently press to stick. |
| 4. | Heat the Oil: In a big skillet over medium-high heat, add the vegetable oil and heat it until it shimmers but doesn’t smoke. |
| 5. | Cook the Cutlets:
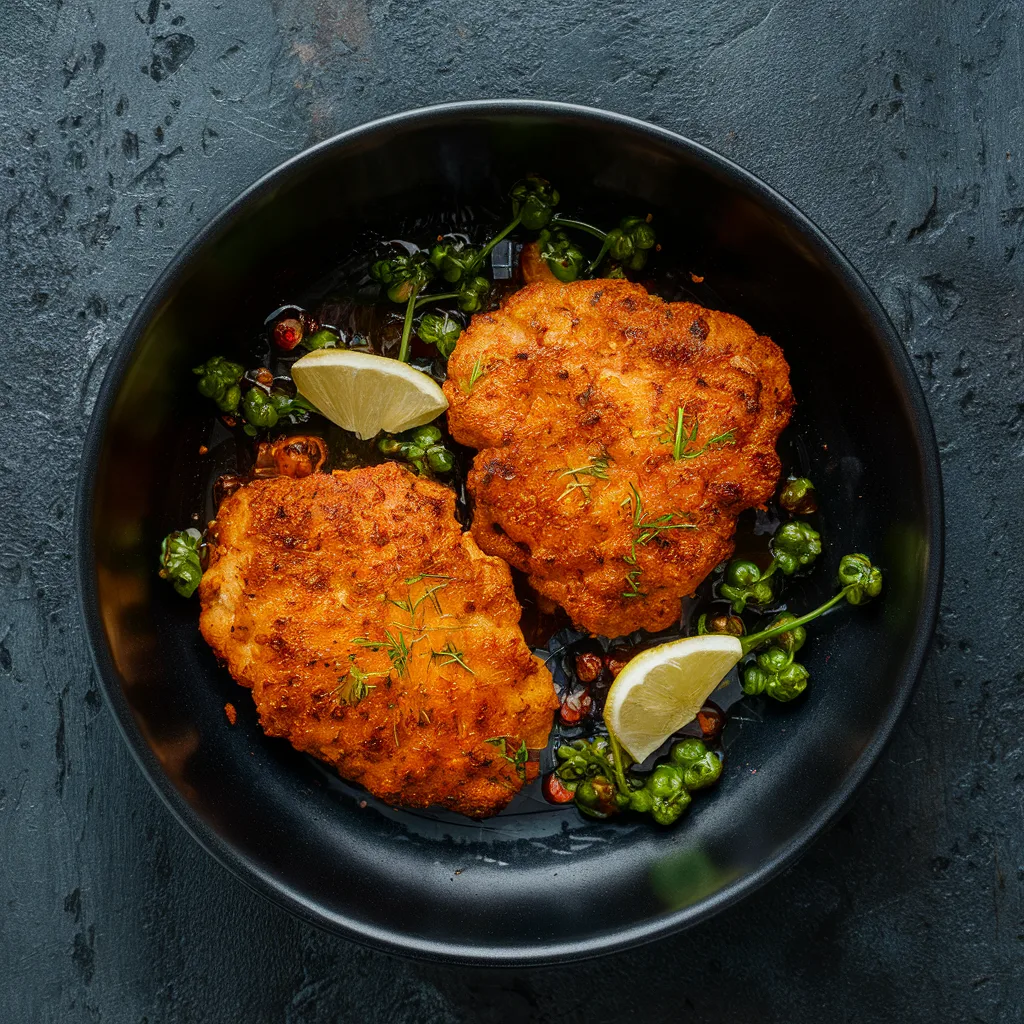
Make sure not to crowd the skillet by adding the breaded chicken cutlets in phases. Cook for 3–4 minutes on each side, or until cooked through and golden brown. To drain any extra oil, move the cutlets with tongs to a baking sheet covered with paper towels. |
| 6. | Serve:
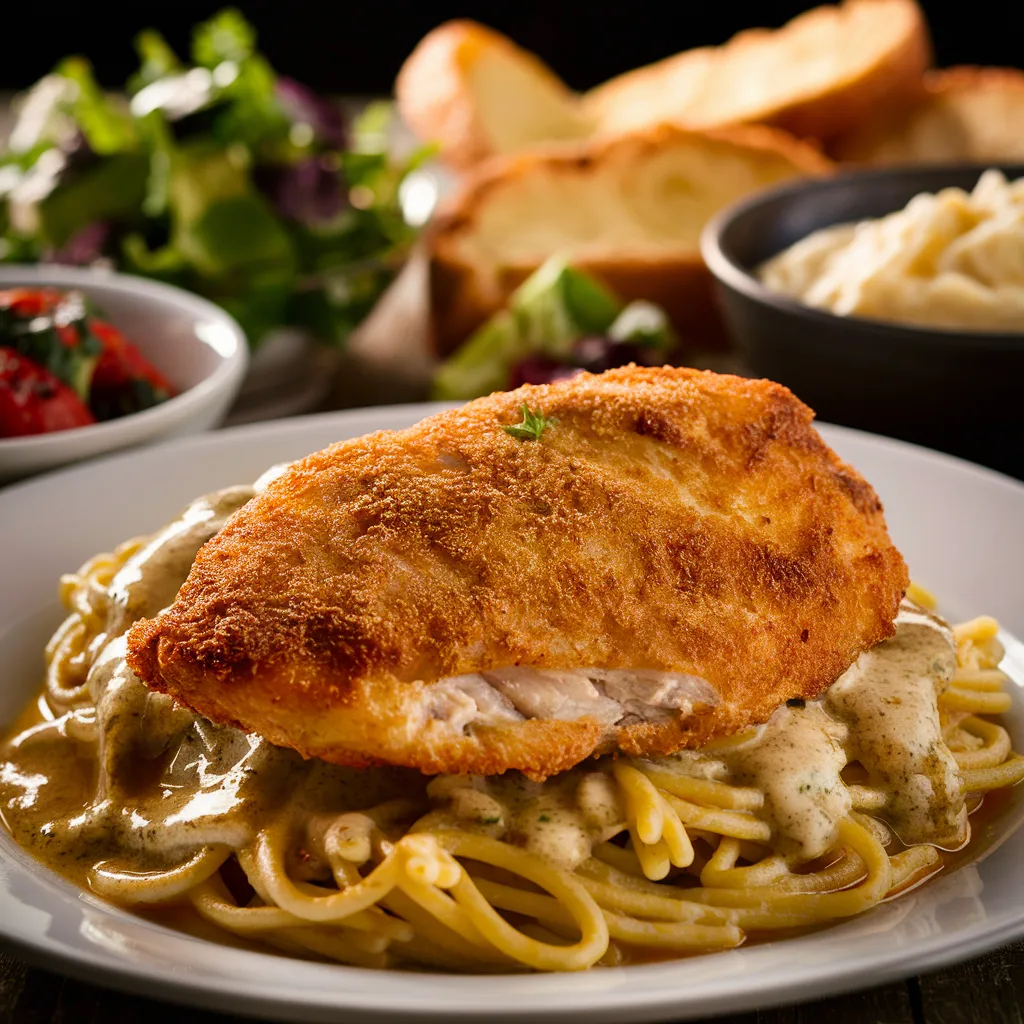
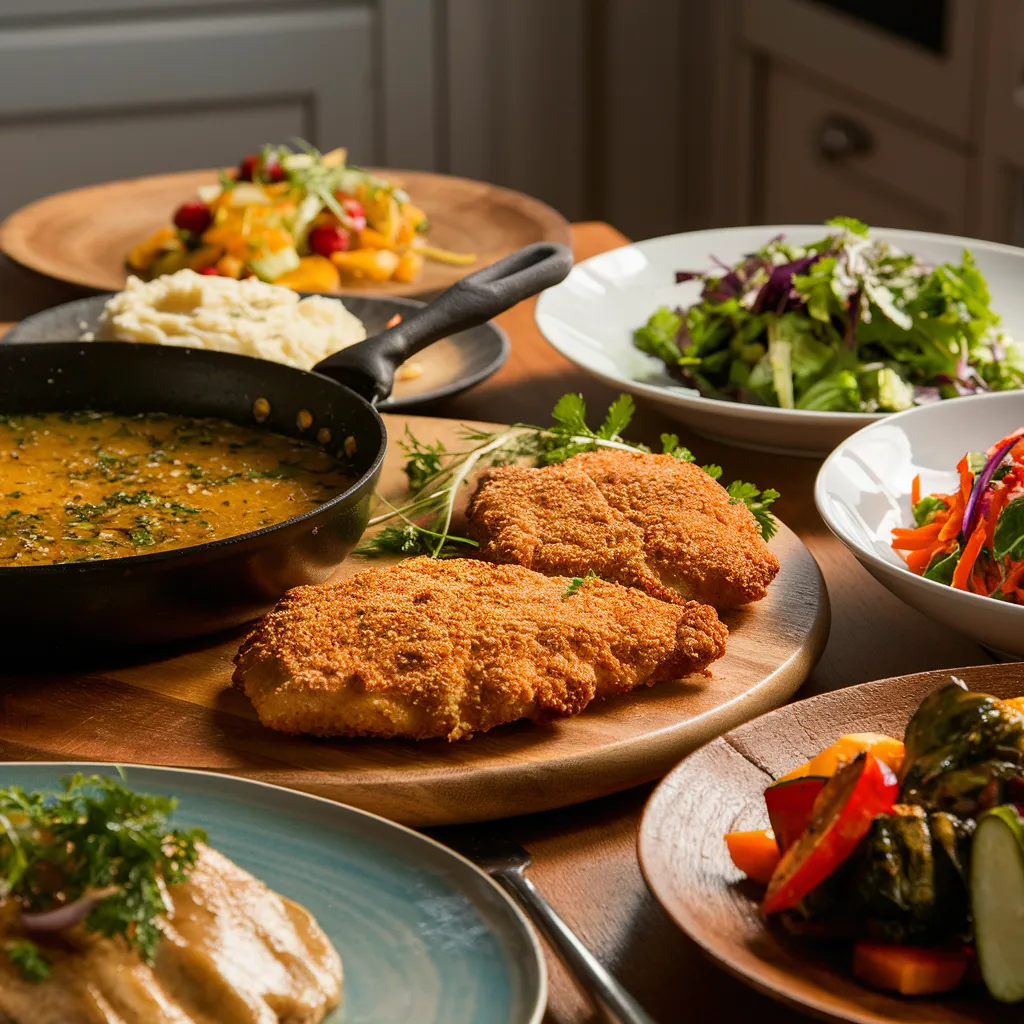
Warm up the chicken cutlets and pair them with your preferred sides, such as steamed vegetables, mashed potatoes, or a crisp salad. |
Video Guide
Benefits of the Food
 – High in Protein: Lean protein, which is necessary for both muscle growth and repair, is abundant in chicken.
– Packed with Minerals and Vitamins: B vitamins, which are essential for generating energy and general well-being, are found in chicken.
– Easily modify the flavors and coatings to fit your dietary requirements and tastes.
Tips and Variations
 – Spice It Up: For a little extra spiciness, add some cayenne pepper or chili flakes to the breadcrumb mixture.
– Herbaceous Twist: For a taste explosion, use fresh herbs such as basil or parsley into the breadcrumb mixture.
– Dairy-Free: Leave out the Parmesan cheese and use a dairy-free milk instead.
– Oven-Baked Option: To make a healthier version, bake the breaded cutlets for 15 to 20 minutes, rotating them halfway through, at 400°F (200°C).
How to Keep Leftovers
 – Refrigerator: Keep leftovers fresh for up to three days in the refrigerator in an airtight container.
– Freezer: Place cooked cutlets on a baking sheet and freeze them in a single layer. After they’re frozen, move them to a container or bag that’s freezer-safe. They are good for two months at most. Warm the mixture again in the oven at 375°F (190°C).
FAQ
 – Is it possible to substitute chicken thighs for breasts?
Of course! Skinless, boneless chicken thighs are excellent and will have more juice, but they could require a little extra cooking time.
– Can I prepare these cutlets in advance?
Indeed! Before frying, you can bread the cutlets and keep them in the fridge for a few hours.
– What dish should I put chicken cutlets on?
These cutlets are excellent served with pasta, mashed potatoes, or steamed veggies and fresh salad.
– How can I make sure the breading doesn’t get soggy?
Before frying, make sure the oil is sufficiently hot and take care not to pack the pan too full. This keeps the cutlets crispy and ensures that they cook through.
– Is it possible to bake these cutlets rather than fry them?
Indeed, baking is a more healthful choice. Bake for 15 to 20 minutes at 400°F (200°C), rotating the dish halfway through.
Conclusion
You can count on these chicken cutlet recipes to become mainstays in your home. They’re very adaptable, tasty, and crispy. These cutlets are always a favorite, whether they are served as part of a larger meal or as a quick supper. Try them out and report back to me on how they work out!
Call to Action
As much as I love creating and eating these chicken cutlets, I hope you do too! Please share your experience by leaving a comment below if you try this dish. Remember to follow my blog for more delectable recipes and culinary advice. Have fun in the kitchen!

Leave a Reply